ALEXIS BERNSTEIN ARTIST
Artwork
Changing Anthropogenic Intention
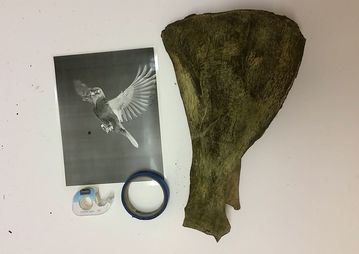
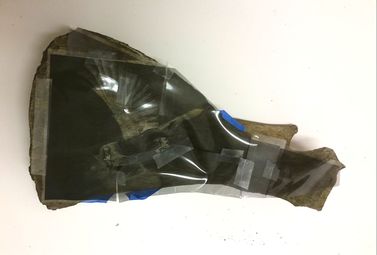
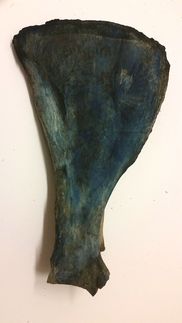
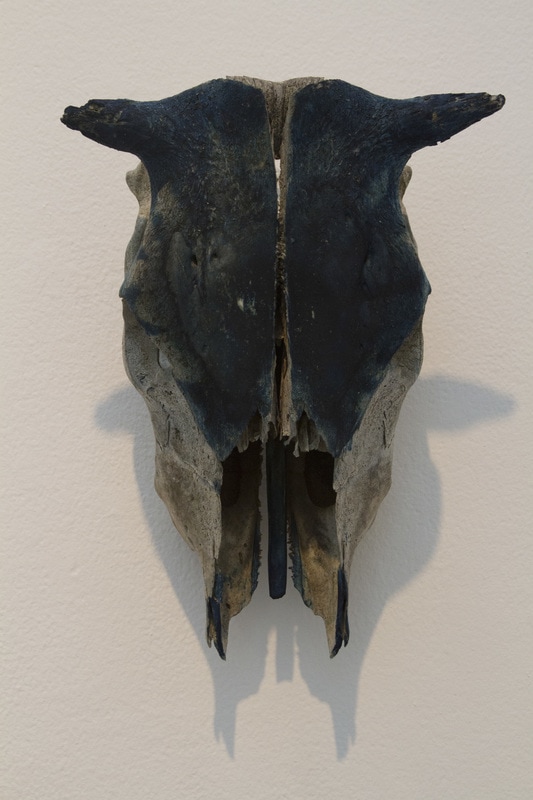
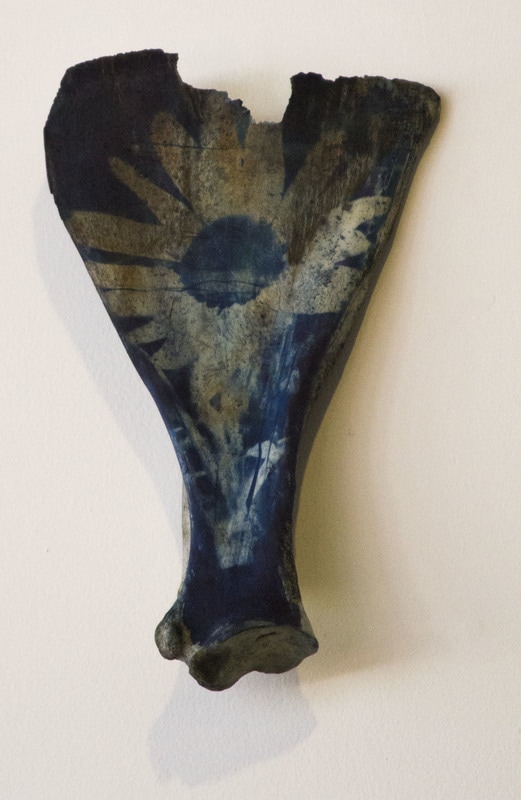
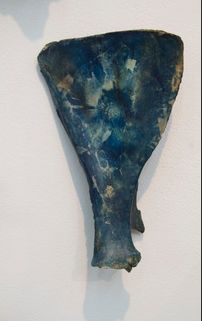
Cyanotype Bones
Life and Light
Photography
Surgeon General's Warning
Artist Statement
CV
Blog
Shop
Artwork
Changing Anthropogenic Intention
Cyanotype Bones
Life and Light
Photography
Surgeon General's Warning
Artist Statement
CV
Blog
Shop